Embedded Analytics with SAP Fiori – How to create analytical web dynpro apps and assign them by role based authorizations
Introduction and Objectives
In previous blogs we described the CDS data model and how ABAP CDS views are created and used for different purposes, whereby Analysis for Office was mainly used as reporting frontend. In this blog we will make the entry to FIORI and show some of its capabilities to provide data through specific apps. There are several application types offered to the users in Fiori to consume their business data. We will focus on multidimensional reports in this first part.
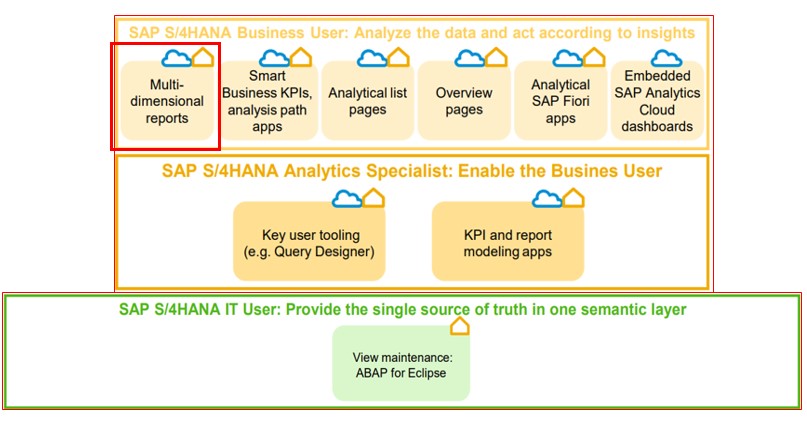
Multidimensional reports allow quick exploratory and flexible analysis of data. We will show how to create such a report out of a CDS query view and how to embed it into a Fiori tile which will be added to a Fiori catalogue and group. Finally, we will build a role and assign the content to a user, so that it appears on his Fiori start page.
Source data
Several query types can be used as source for multidimensional reports in Fiori, like CDS query views, BW queries or custom analytical queries built in Fiori by key users themselves. We will take the analytical CDS query 2CZCKSTQUERYDVU, which was already used for other showcases in previous blogs.
Catalogue creation
In order to publish a Fiori application to a user, a catalogue must be created with the Fiori launchpad (transaction /N/UI2/FLPD_CUST) which the application will be assigned to. A catalogue can include one or more applications/tiles which can be assigned to a user by a role.
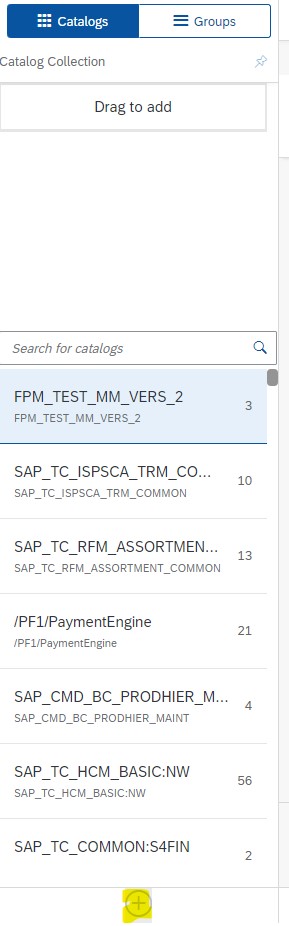
After opening the launchpad there is a list of standard catalogues. You can create a new one by clicking the yellow marked “+” button:
Afterwards you can enter a title and ID for the catalogue and save it.
Within the catalogue there are three sections. We open the “Target Mapping” first and create a new one by clicking “Create Target Mapping” at the bottom of the page:
In the target mapping you define the navigation target and map it to a combination of semantic object and action. The target application is launched when the semantic object and action are triggered. You also define the supported device types and parameters which are forwarded to the application here.
Semantic Object and Action:
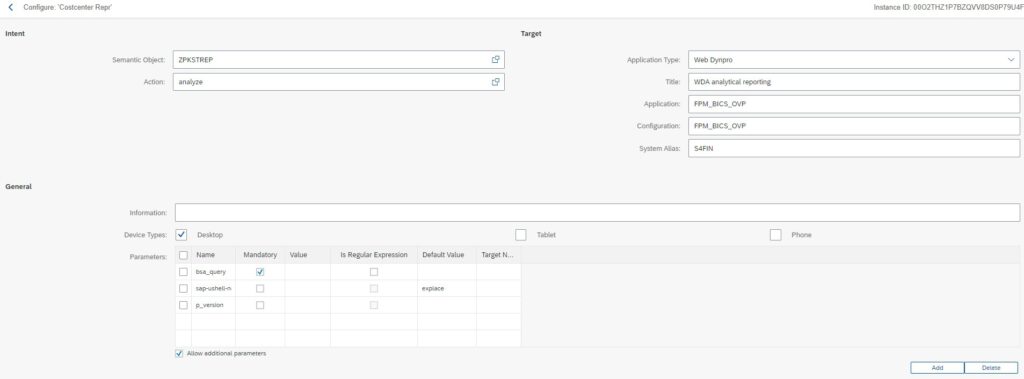
You can choose a semantic object out of the existing elements or create a new one for this purpose with the transaction /N/UI2/SEMOBJ. We will not utilize all features of semantic objects in this scenario, but we still must define it at this point together with an action. We created a new semantic object and enter “analyze” for the action:
Target:
Among other things, here we define of which type the application is. As the SAPUI5 Fiori App (Design Studio Data Grid) is obsolete and Web Dynpro is used by default for multidimensional reports, we select “Web Dynpro”. In the Application and Configuration field we enter the analytic standard Web Dynpro application FPM_BICS_OVP. As last step you must choose a valid system alias.
General:
Now we can flag the device types the target is supported by. There are a couple of parameters you can define in the target mapping, serving for different purposes. You can enter the parameter value as fixed or default value and decide if it’s mandatory or not. The parameter value can also be blank, but if it’s mandatory you must provide a value at the latest when the application is launched. We don’t want to define the query name already here, that’s why we leave the parameter bsa_query blank. The parameter sap-ushell-next-navmode determines whether the target of a link in the application is opened in a new window or not. You can choose between “explace” or “inplace”. Our source query has an input parameter for the plan version named p_version, which we also add here to the parameters, but without defining a value at this point.
Now we finished with the target mapping setting and switch to the “Tile” section of the catalogue. Here we click the “+” symbol in the empty tile to create a new one:
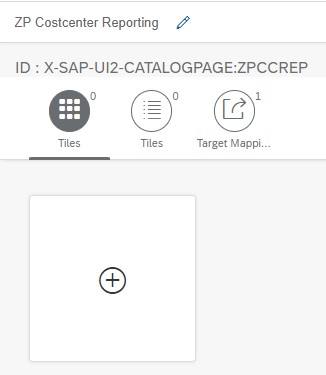
From the three available tile types we choose “App Launcher – Static”
First, we maintain the “General” part and provide the following information:
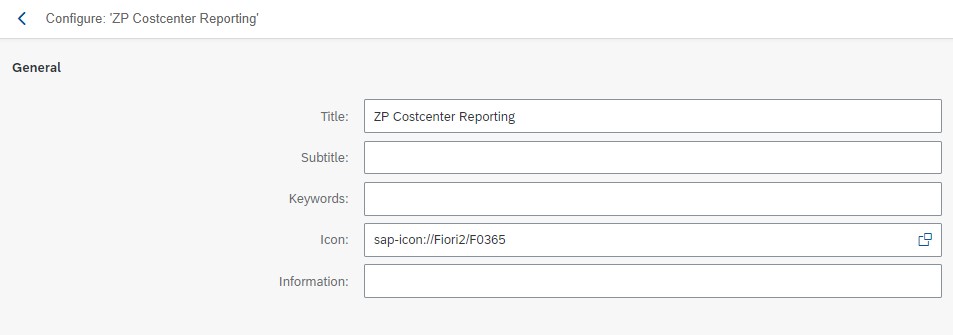
We assign a Title which fits the query content (here “Costcenter Reporting”). In the Icon field you can select a matching icon for your tile.
At the end we provide the needed information to the “Navigation” section:
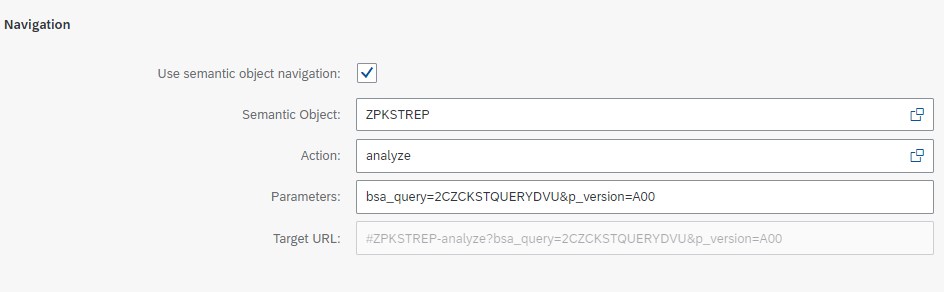
We enter the previously defined semantic object and action. Since we defined bsa_query as mandatory in the target mapping but left it blank, we provide the value here in the “Parameters” field and enter our analytical query view 2CZCKSTQUERYDVU. An advantage of not defining already a fixed value for the query in the target mapping, is that you could for instance utilize one target mapping as central connector for the execution of several queries which are defined in different tiles. At the end we enhance the parameters string and add the query input parameter for the plan version p_version, which was defined as optional in the target mapping. This will cause, that the query input parameter is preassigned (but changeable) with a plan version. In our scenario we enter the plan version of the ongoing plan scenario “A00”. After saving the settings, a Target URL is configured based on the entered navigation information.
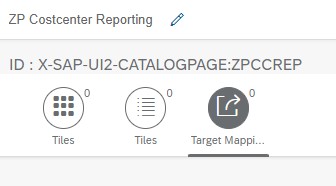
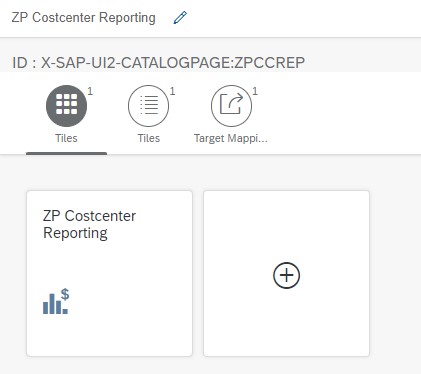
In the Tile view, we can see the created application “ZP Costcenter Reporting” now:
Group Creation
In the next step we create a Fiori group which the application will be added to. A group represents a bundle of applications from one or more catalogs. The group is used to make the applications visible on the users Fiori Start Page. If only the catalogue is assigned to the user, he can search for the catalogue’s applications and execute it, but they are not automatically visible on the users start page. Only the assignment of the application to a group, having the catalogue and the group assigned to a user by a role, will let the group and applications appear on the users start page.
In the launchpad designer we switch to the group section and create a new group via the “+” button:
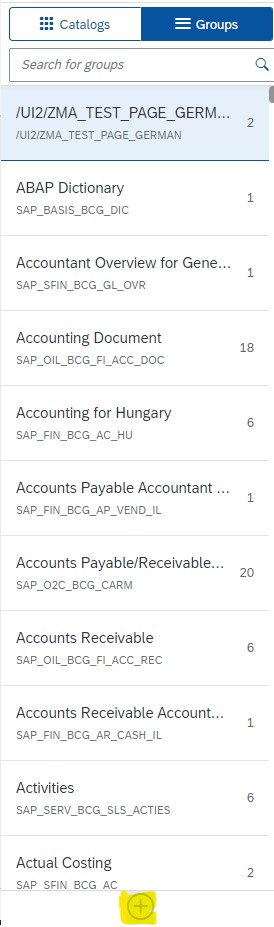
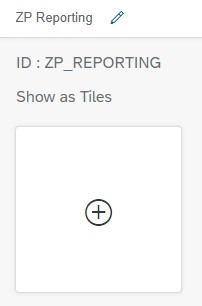
Then we enter a Title and ID for the group. With the Group personalization flag, you can optionally decide whether the users can later personalize this group or not.
After that, we add a catalogue clicking “+”:
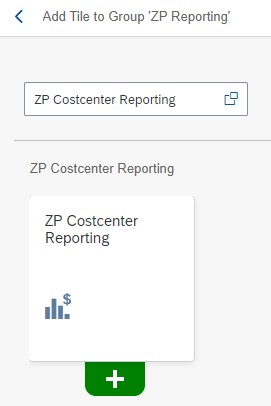
We search for our previously created catalogue and select it.
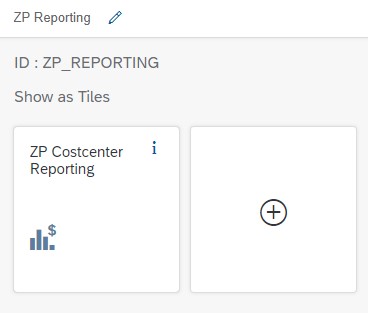
Afterwards the applications of the catalogue appear. We see our created tile and add it to the group by clicking “+”:
The application is assigned to our new group now:
User role creation
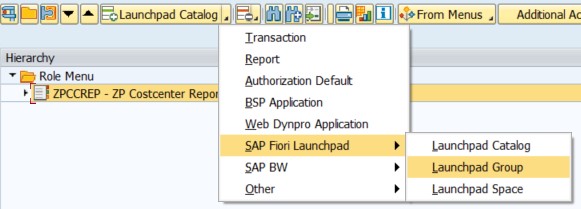
The last development step consists of the user role creation with transaction PFCG. We create a role ZP_FIORI_REPORTING and add our catalogue via Menu -> Transaction -> SAP Fiori Launchpad -> Launchpad Catalog to the role:

Then we do the same with the group: Menu -> Transaction -> SAP Fiori Launchpad -> Launchpad Group
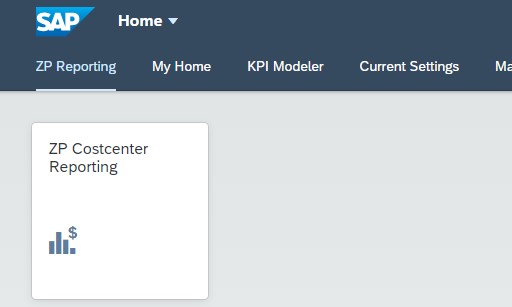
After saving the role, we assign it to the relevant users. After the next logon to the Fiori Launchpad, the group with its application is shown on the users start page:
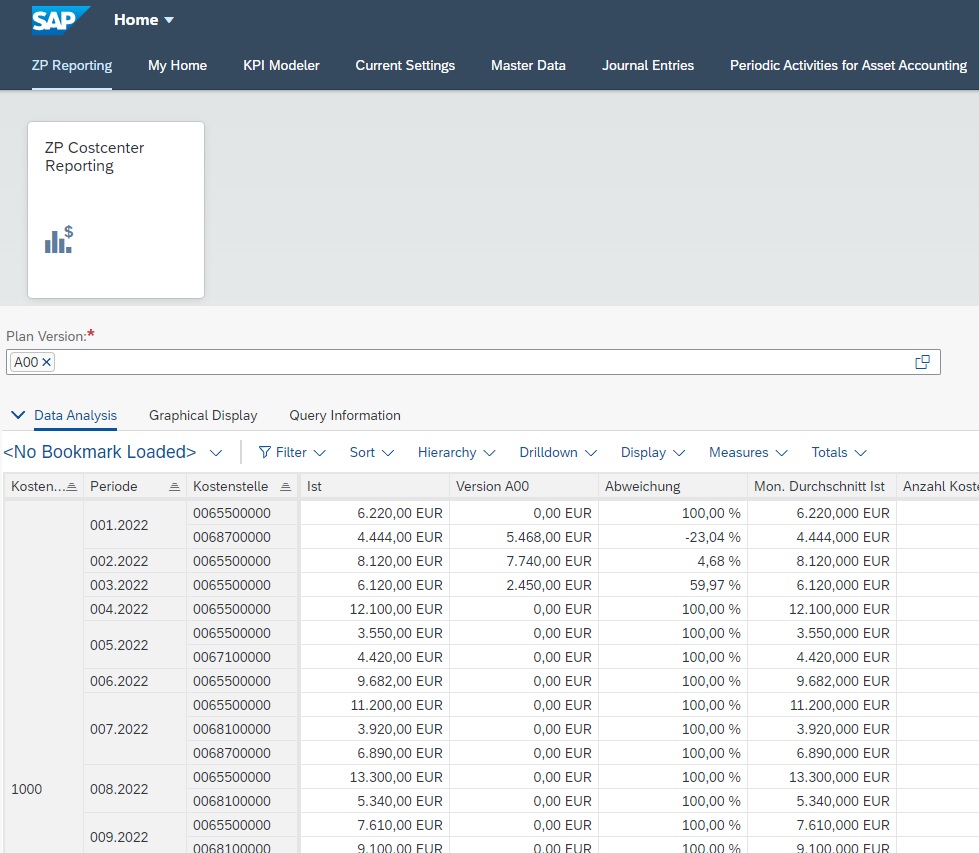
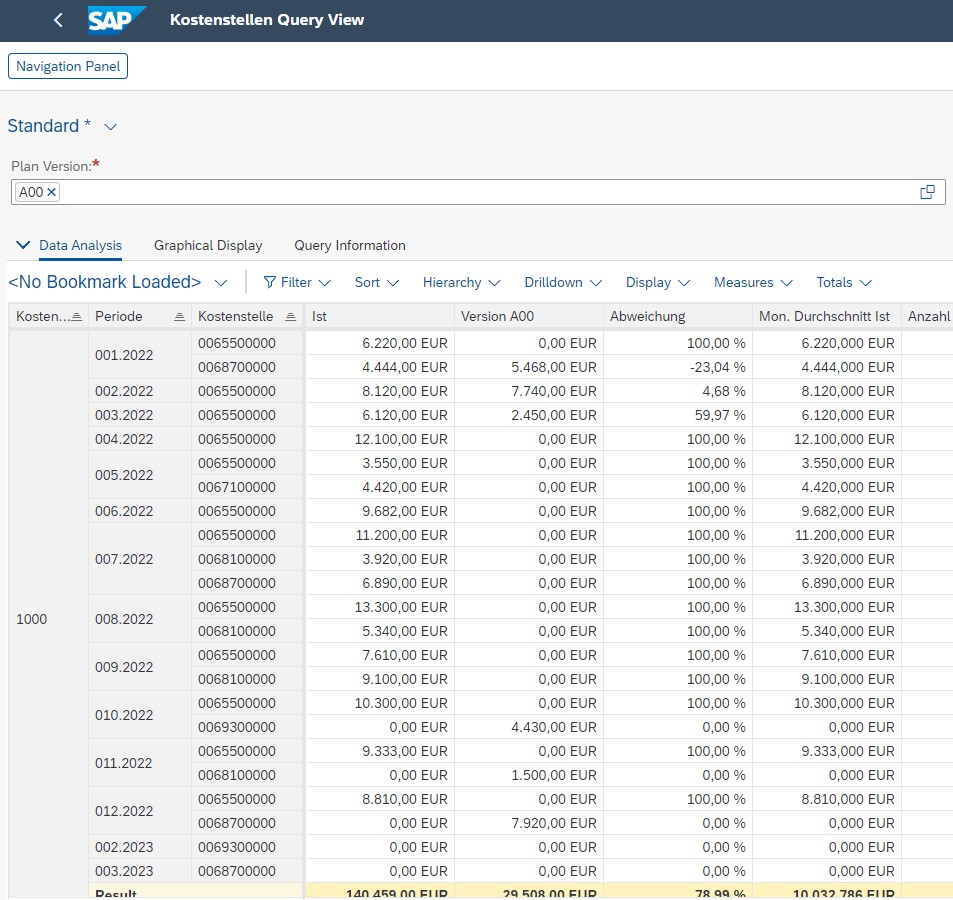
By clicking the tile, the application is launched. In the URL we recognize the parameters maintained in the target mapping:

Since we predefined a default value for the input parameter (Plan Version), the report is executed with this restriction. If needed, the report can be refreshed with another version changing the value in the field “Plan Version” and executing the report again.
We can now enjoy exploring the many possibilities of displaying, filtering and navigating through the data in our newly created multidimensional report.
Conclusion
With a few steps you can integrate analytical queries into Fiori apps and create user friendly web dynpro based multidimensional reports, which are supported by several device types. The user access and appearance on the Fiori start page can be controlled by role based authorizations using Fiori catalogues and groups. The benefits and functions of the multidimensional report itself, will be pointed out in a separate blog in the future.
Related Blogs
Author: Denis Vukovic
Denis is an SAP professional with nearly 15 years of experience in SAP Analytics. He has deep analytics expertise in both CDS-based scenarios in SAP S/4HANA and in classic SAP BW. In addition, he focuses on SAP Fiori and SAPUI5 development and regularly publishes blogs on these topics, especially in combination with virtual data models built in CDS.