Lifecycle Management in SAC – Content Network Storage: Multi-Content Network
1 General
SAP Analytics Cloud is a powerful frontend tool and offers multiple options to share stories with consumers.
When consumption is growing it is also very important that new developments are deployed smoothly for end users.
Especially in a landscape with a tenant for development, testing and production, content should be created on development and transported through to the next tenant as best practice.
The content network storage is used to transport between tenants.
The following paper takes a deeper look how to transport with the Content Network Storage.
2 Content Network Storage
2.1 General Information
The source and destination systems need to be on the same quarterly version of SAP Analytics Cloud, or the following quarterly version. If the importing system is on an older version, the package won’t appear. If it’s two or more versions ahead of the exporting system, the package’s content may not be supported.
In Transport, you can share content across systems from one or more landscapes and set access rights for each sharing destination, for example, to allow other systems to update a package and export it again.
Each system can store up to 300 MB of exported content for free in the My Content area. (*)
2.2 Permission
First, in order to use the Content Network Storage, the user must have permissions on the following:
Users with Read, Maintain, and Share permissions for Lifecycle.

Users with Manage permissions for Public Files and Workspace.

Admin and BI Admin standard application roles.
Now lets get into transporting a story from one tenant to another.
3 How to transport a story
3.1 Export
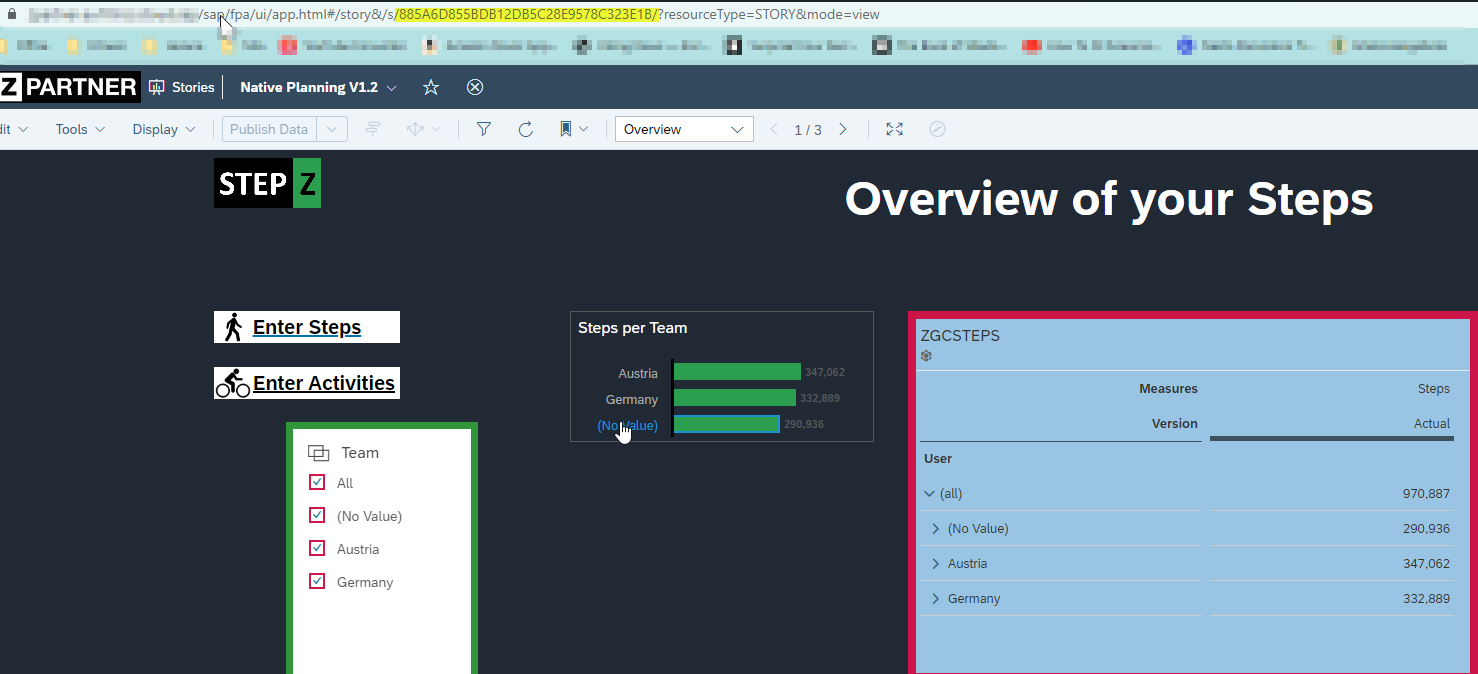
A story/dashboard/analytic application is created on the development tenant.
https://<tenant>/sap/fpa/ui/app.html#;view_id=story;storyId=885A6D855BDB12DB5C28E9578C323E1B
Afterwards the story has to move to the testing or productive tenant and shared to all users. In order to get the story to the next tenant, open Export under Transport pane.
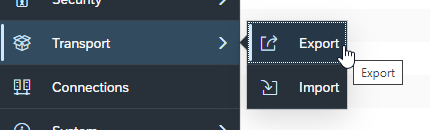
Now Content Network Storage is opened per default (File System is also available but the focus here is on the other transport solution)
Click on the “+” to create an export.

Now to choose the content for the export, we can either drill down to the folder or search via the search bar. When the story is selected all dependent objects, models, folders etc are selected per default.

Go to next for the Set package properties
Name, Description and Details are mandatory fields to fill out.
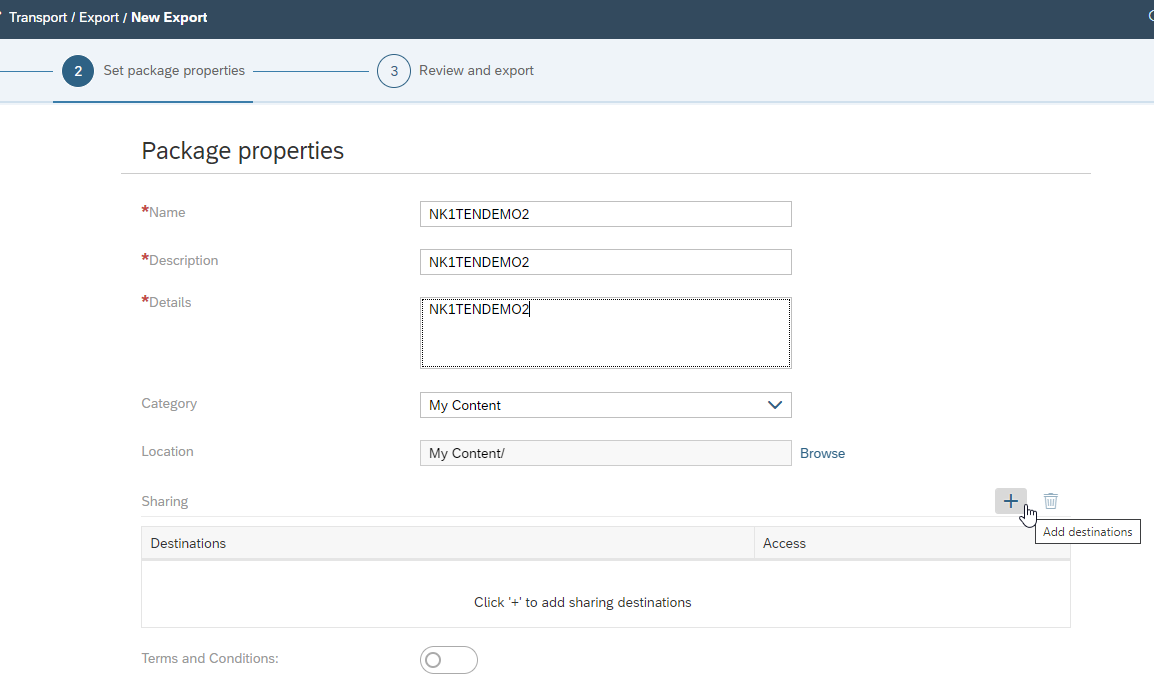
Now in order to get the story to its destination, we have to add one. Without this, a transport is still created, however it leads to nowhere.
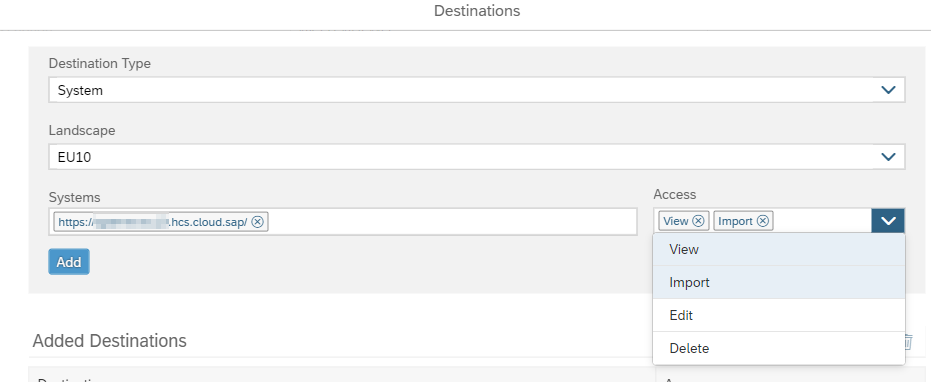
It is important to add the URL for the target tenant, landscape, and system. In addition, it is possible to add Access control here as well.
From the Access dropdown, choose the permissions that you want to grant to the sharing destination. You can add more than one permission. (*)
- – Import: The systems‘ users can import the package from the My Content folder.
- – Edit: Your package will appear in the My Content folder for the destination systems, where users can make changes to the package and export it again.
- – View: Your package will appear in the My Content folder for the destination systems, and their users will be able to view the name and summary.
- – Delete: From the My Content folder, the systems‘ users can delete the package.
Now click on Add to for Added Destinations. It is possible to add more than destination with different Access permissions.

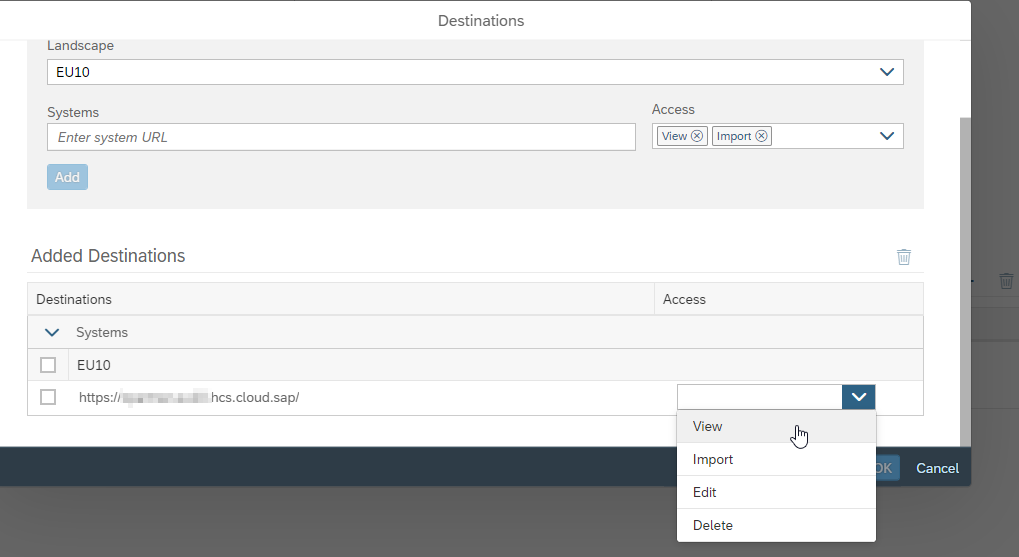
Furthermore, it is possible to change access within the Added Destinations
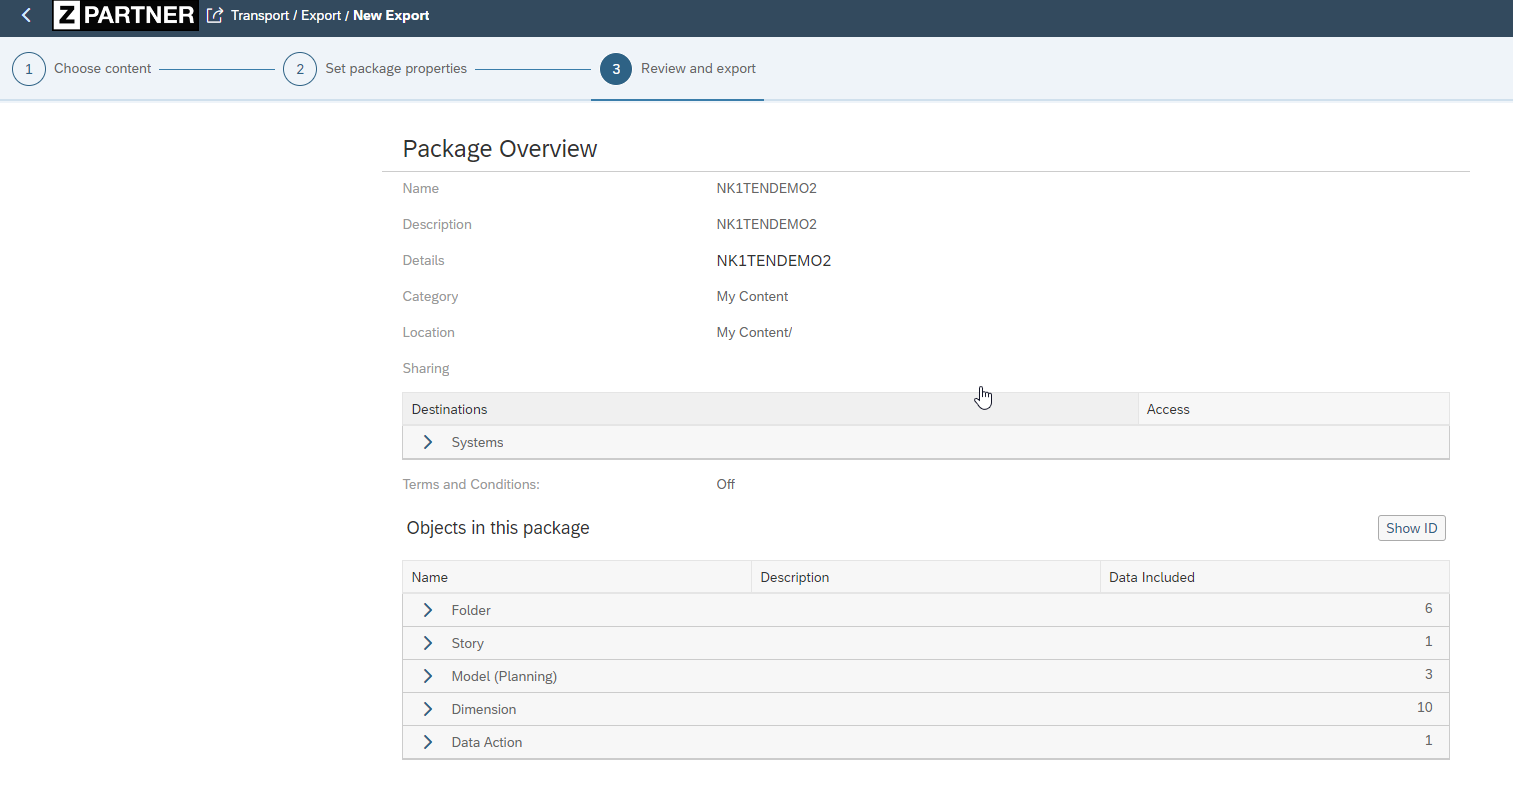
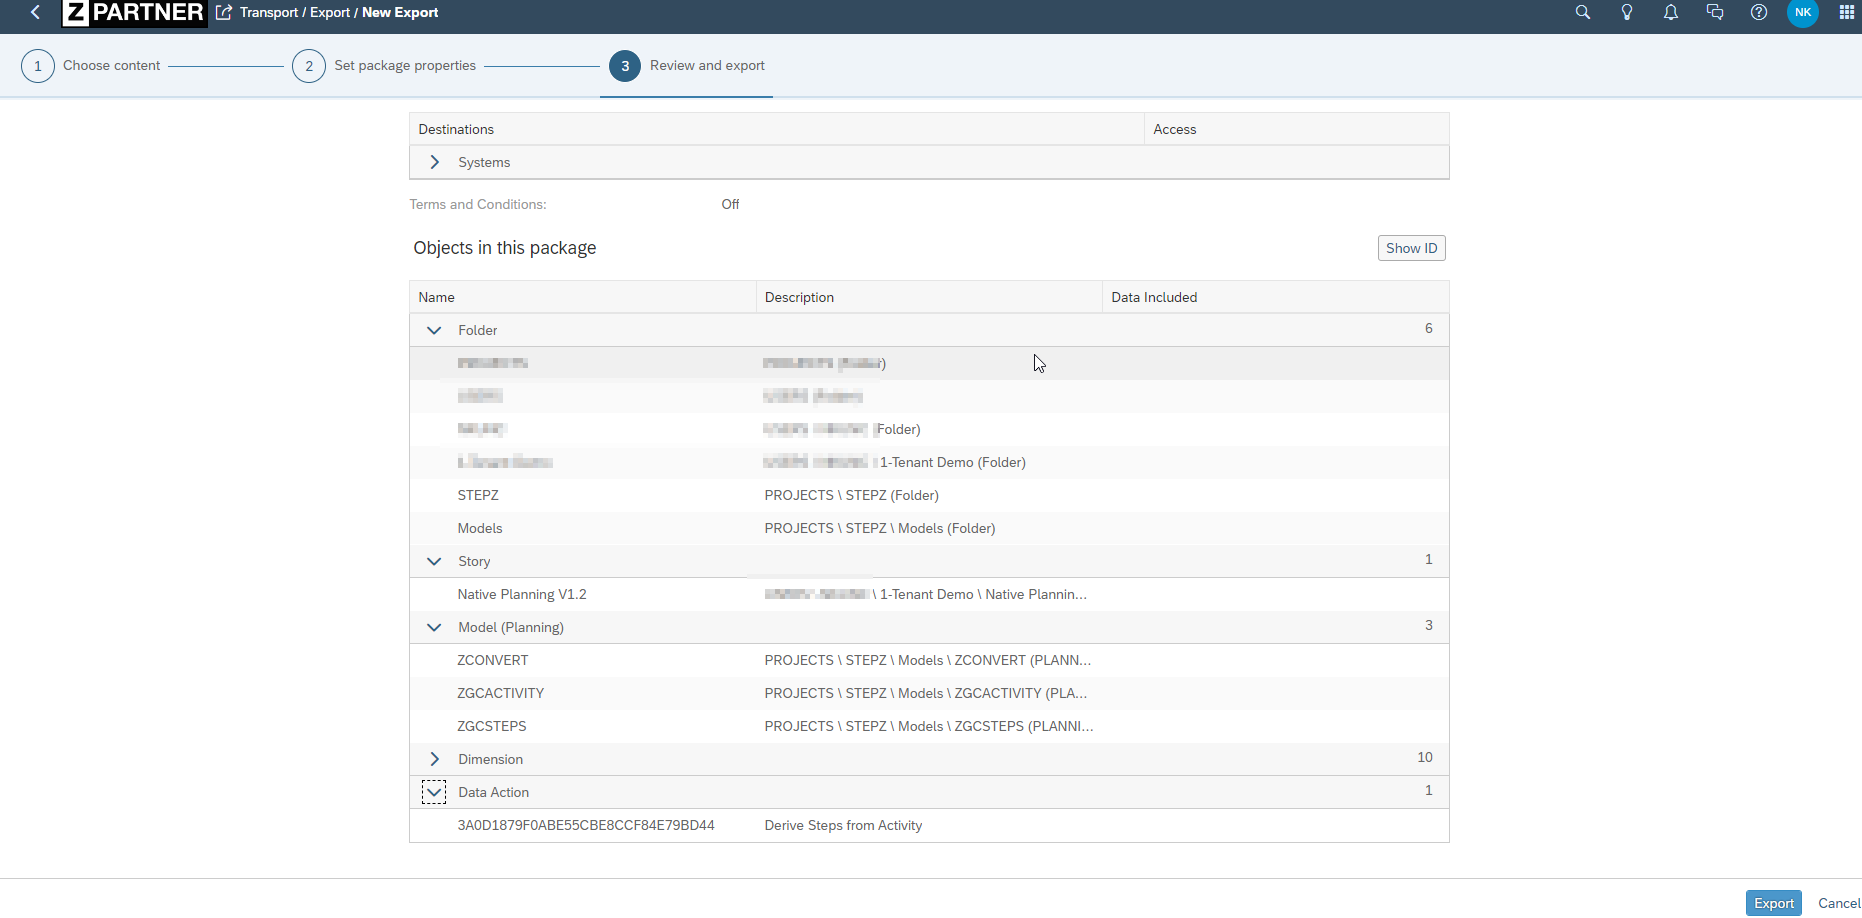
After clicking OK and Next, a Review is shown where we can see which objects are within the export as well as destinations, description etc.
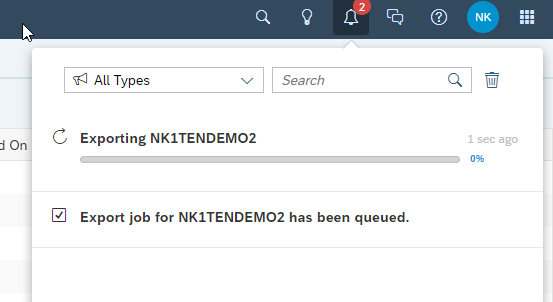
After clicking on Export, a notification is sent that the export job has been queued and when in progress the progress bar is filled.
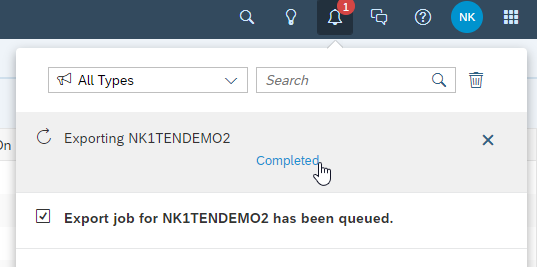
After completion we can click on “Completed” to show an overview of what was exported.
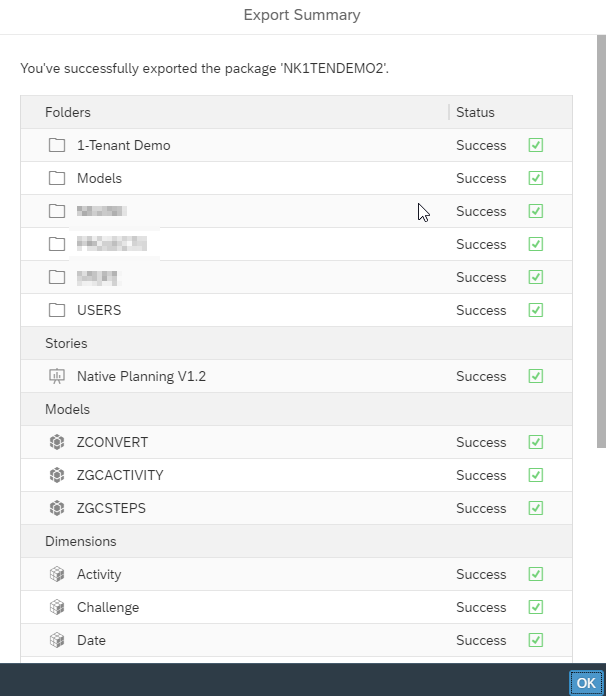
Now having exported the story into the destination tenant, it is stored in the import queue there.
3.2 Import
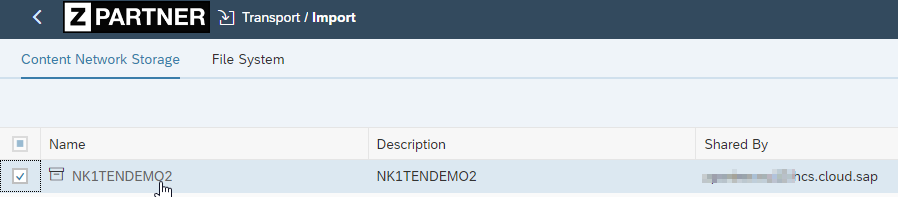
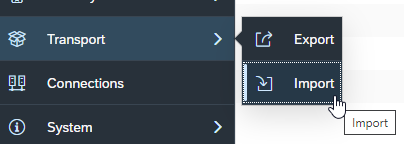
After exporting and getting the message that the export was complete, go to the target system and select Import.

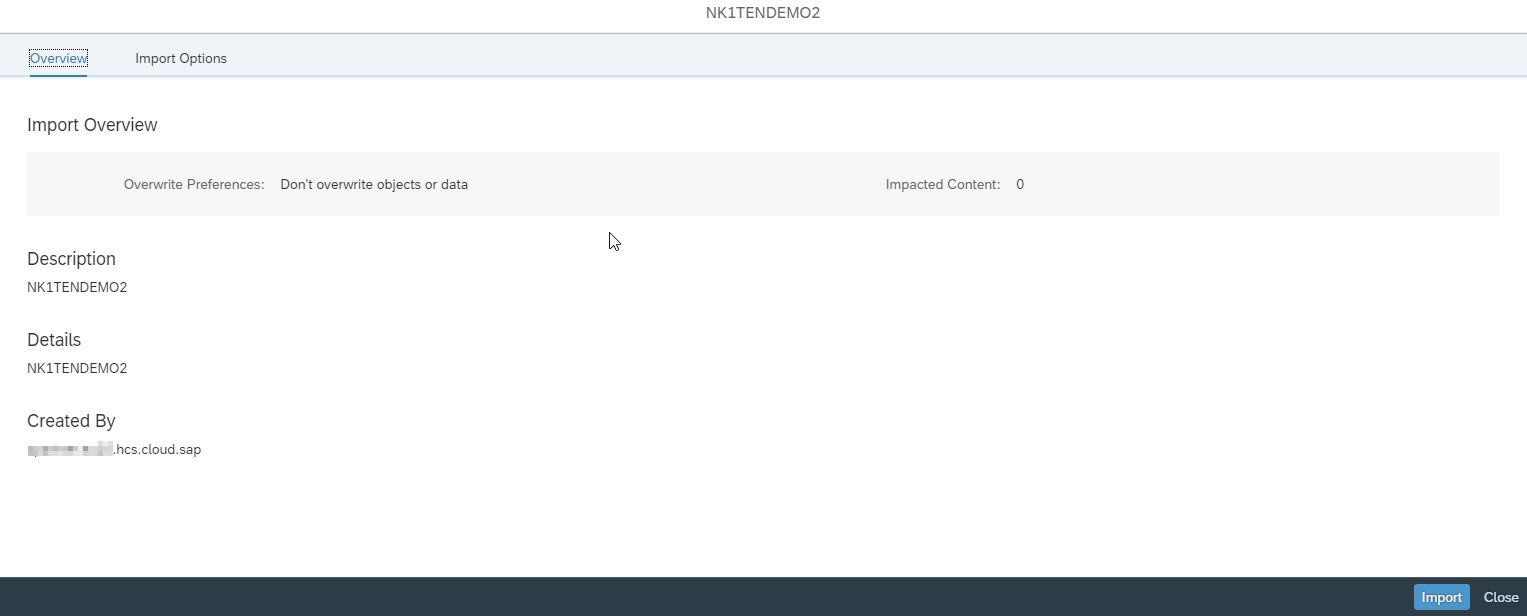
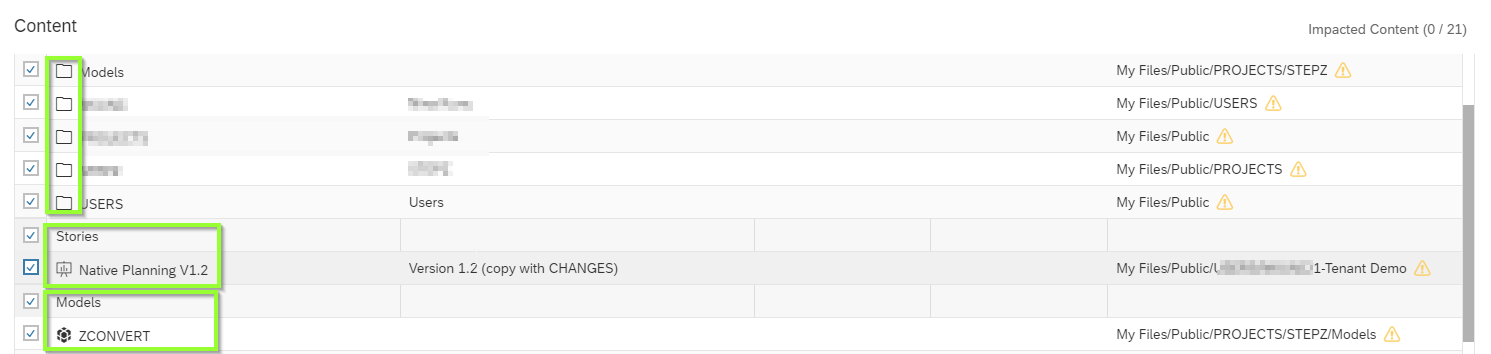
There we see the name we’ve given the export. Click on it and the content to import will open.
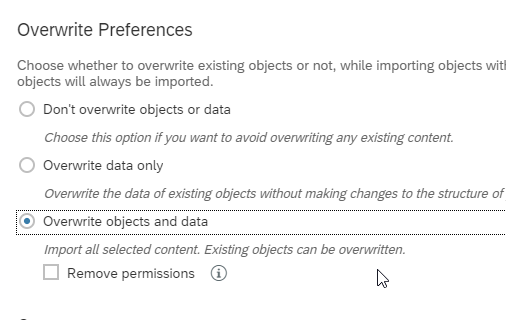
Within the Import Options we decide now what will be imported and Overwrite Preferences.
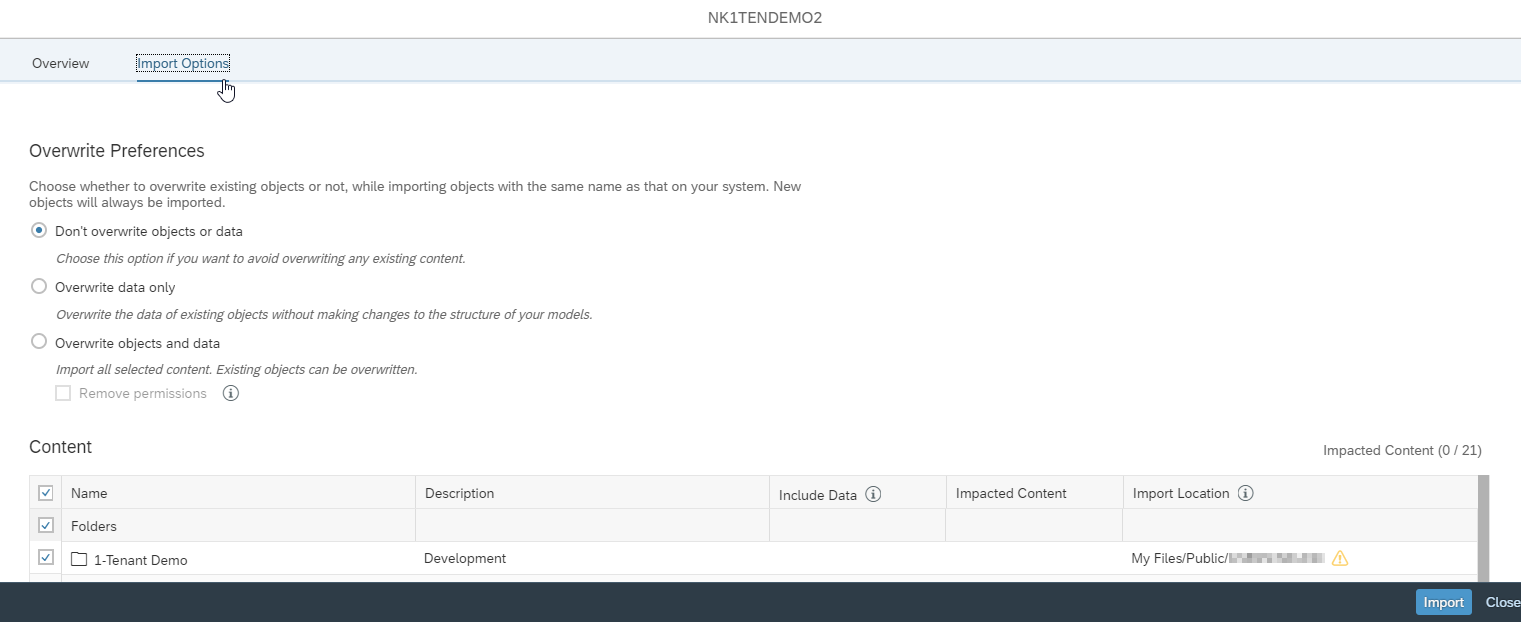
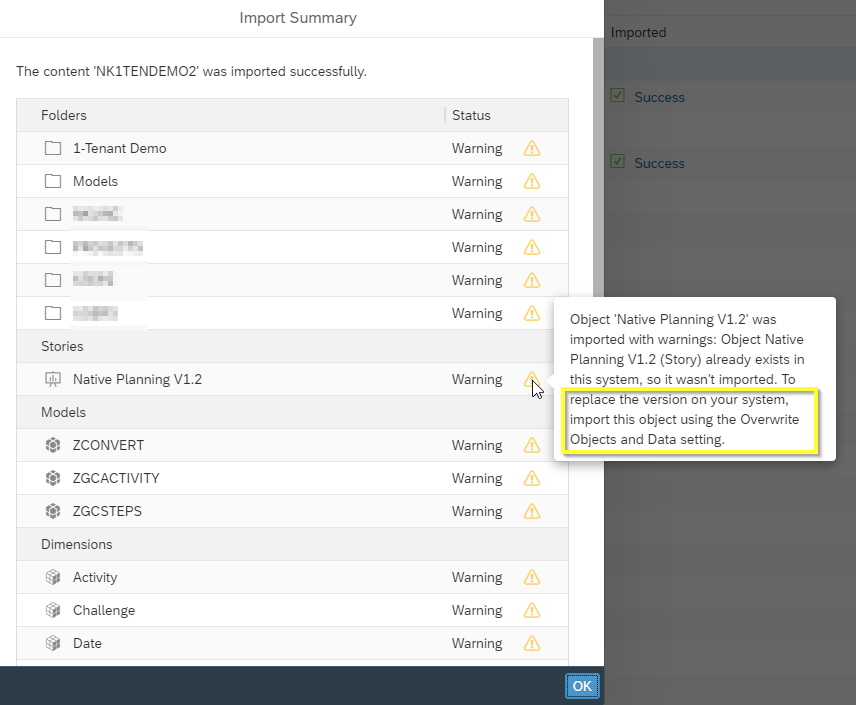
Here we can select what is going to be imported and what not. If the objects are already available on the target system a yellow warning is shown.
With the option: Don’t Overwrite objects or data, we likely get the warning with the import that nothing changed and the nothing was imported.
Choosing: Overwrite objects and data the changes we have done are then overwritten and imported in the target system.
Again while importing, SAC shows the status at the messages bell as well as if the import was successful or not.

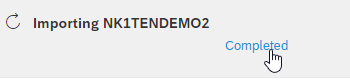
When clicking on completed, we see what was imported and if there were any warnings.


4 Final Thoughts
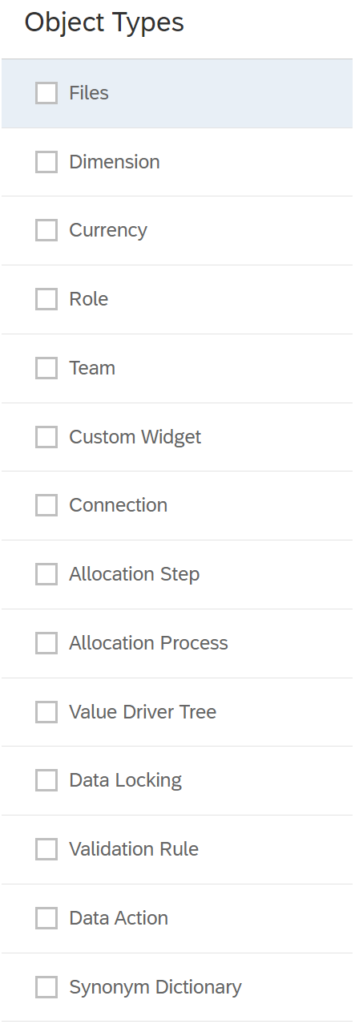
With the Content Network Storage not only can we transport stories and their models but also connections, roles, teams, data actions, files, dimensions and many more.
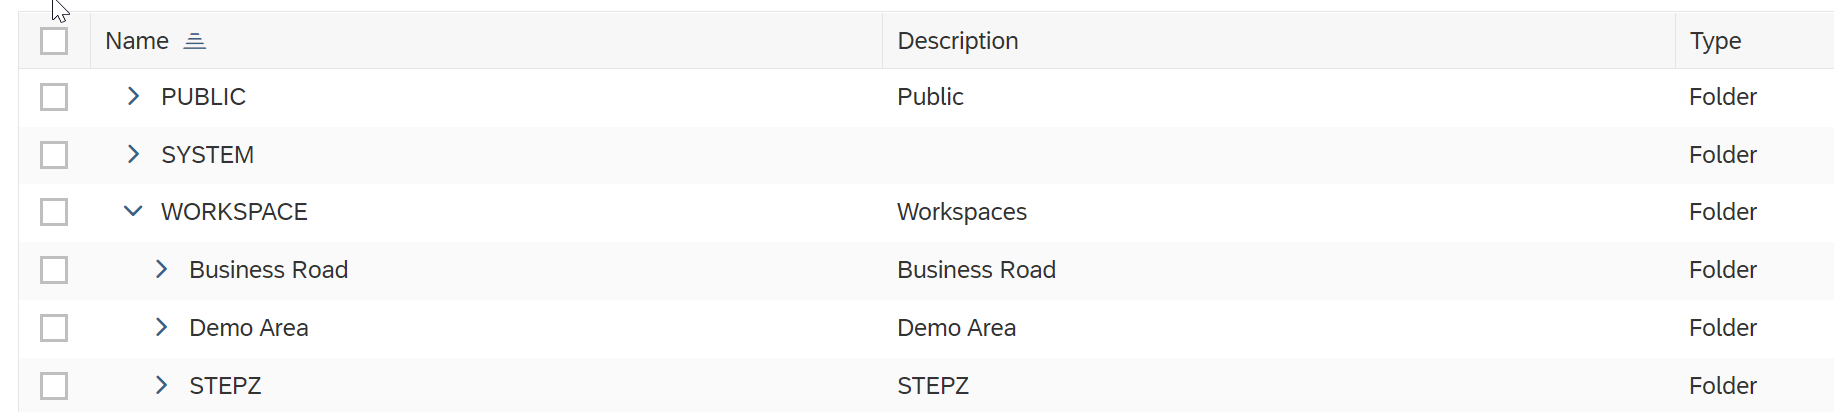
Also, whole Workspaces can be transported.
It’s a powerful tool to help developers in multi-tenant-environments to keep the productive tenants clean from changes and consistent throughout all the tenants.
Development and changes should only be done on the development tenants and transported through to the testing area and furthermore to the productive tenant.
Only restriction and giving headaches at times, are the limit of 300MB transport space.
You can either delete old transports to free up some space or trying to shrink the size of the transported package by only transporting necessary objects.
(*) Further Source: