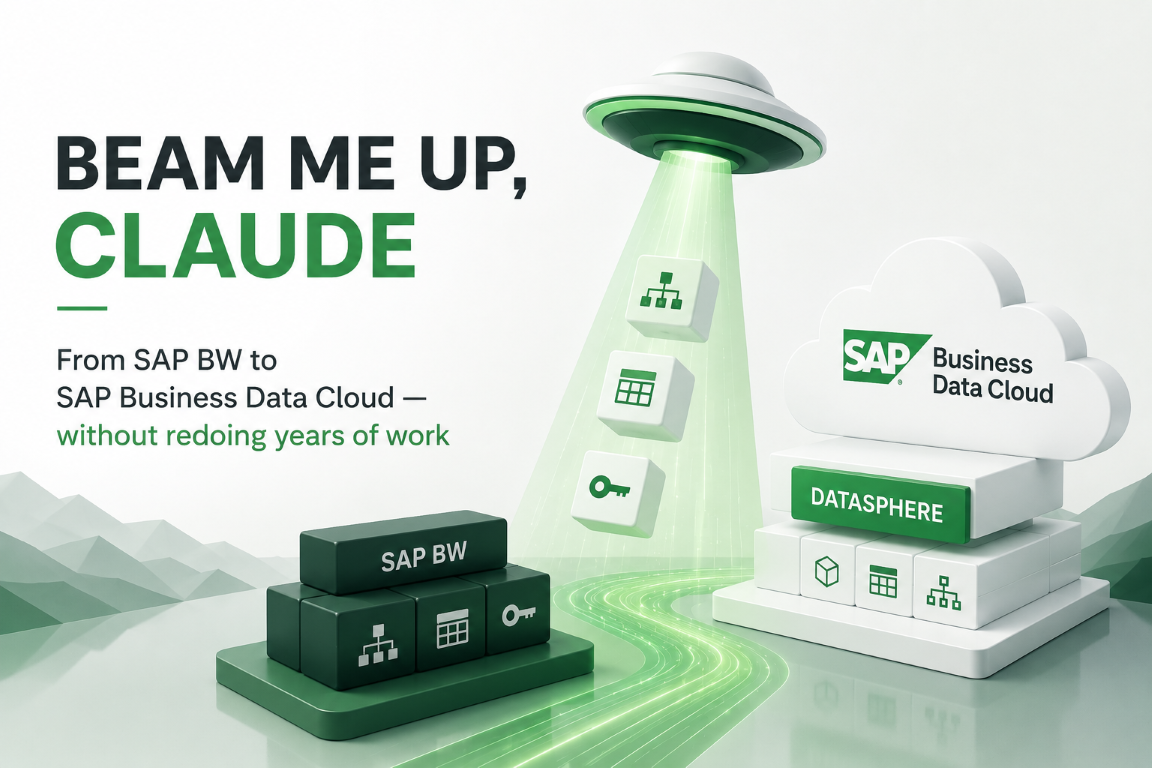
Lifecycle Management in SAC – Transporting in SAC: Multi-Tenant Landscape
1 General
SAP Analytics Cloud is a powerful frontend and offers multiple options to share stories with consumers.
When consumption is growing it is also very important that new developments are deployed smoothly for end users especially in a landscape with multiple tenants
The following paper takes a deeper look into export/import over multiple tenants just like in a common ERP, BW landscape where you have a development, testing and productive landscape.
For the sake of length, we start with Export/Import via File System.
Further information on Single-Tenant Lifecycle Management in SAC, please refer to this blog:
https://blogs.sap.com/2021/02/09/sap-analytics-cloud-story-development-in-a-single-tenant-scenario/
2 Authorization
Before starting a transport, it is important to know that only users with the necessary authorizations are able to export/import.
This authorization is set within the user role for Lifecycle, Public Files and Workspaces.
Authorization for File Export:

Plus for content network storage necessary:


3 How to transport (Export/Import) File System
Transport can be found under “Transportation”
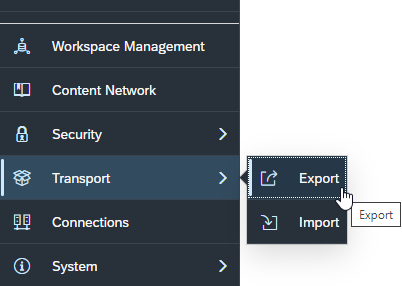
There are 2 possible ways to export/import in SAC

- Content Network Storage
- File System
3.1 Export
In order to export a story, it has to be available in a Public folder, otherwise the file system cannot find the story, model or any other.
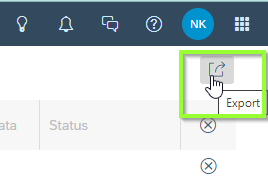
After clicking on File System, a list of previous exports are shown but for the purpose of this blog we create a new transport by clicking on the “+”.

SAC shows all the possibilities for exporting:
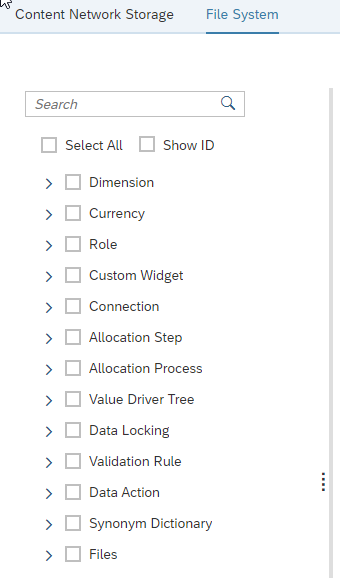
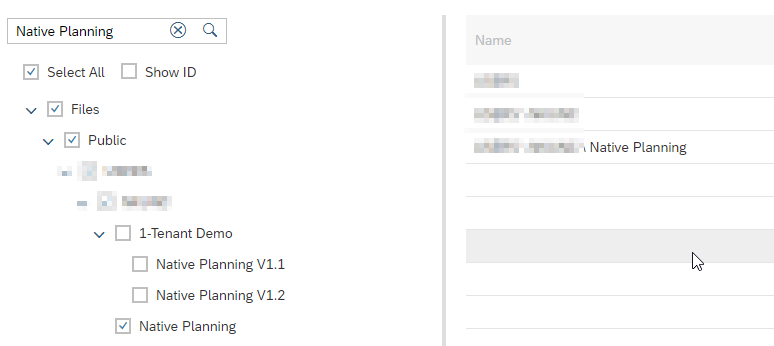
Now we can look either with the specific name in the Search Bar or drill down through “Files” to get to the story we want to export.

Now selecting the Story “Native Planning”, SAC automatically selects everything that is related to the story:
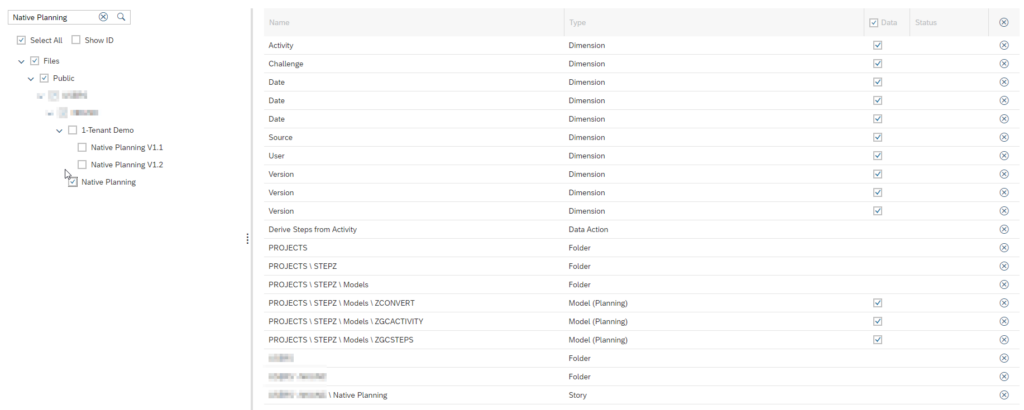
If the underlying model and dimensions are already available on the target environment, we can delete the selection in the file export so to save file space.
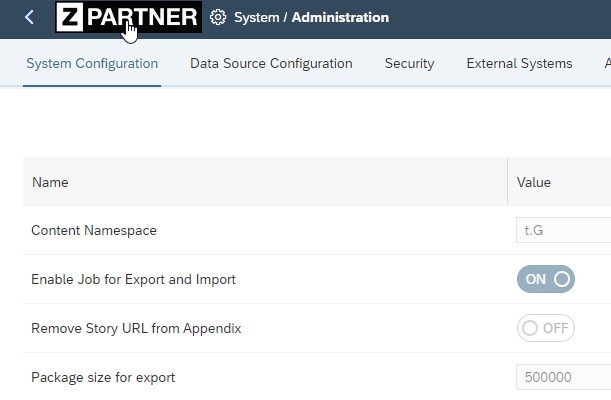
If the user has the necessary authorizations, the package size for export is shown at System / Administration:
If unsure select all and afterwards use “update existing objects”.
For the purpose of this demo, I removed all Dimensions and Models so to only export the Story itself.
Press “Export”
Name export file
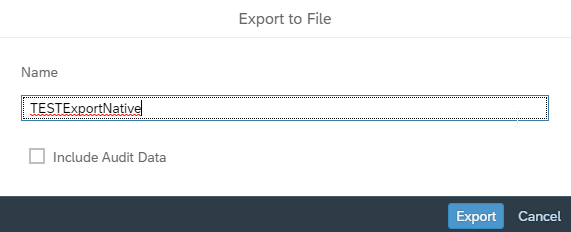
and press Export.
Warning appears and if you are sure all dependencies are covered click Yes.

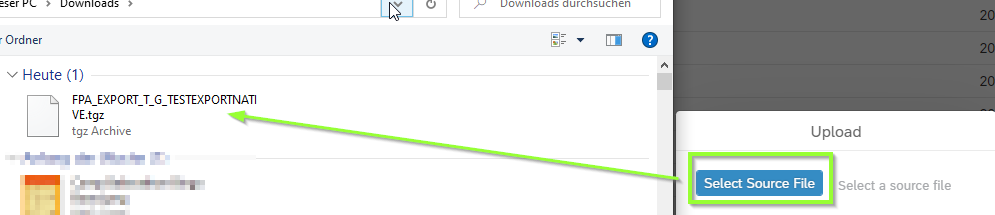
Now a “.tgz” file is created and downloaded to your local station.
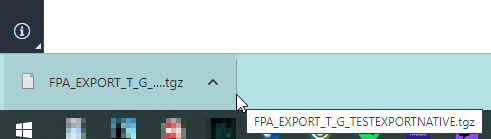
Plus, the new export was successful within the tenant.
3.2 Import
Now to get the file into the target system. Go to

Select Upload

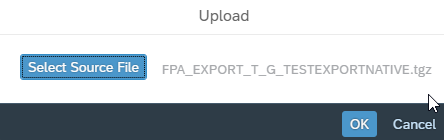
Select Source File
Press OK
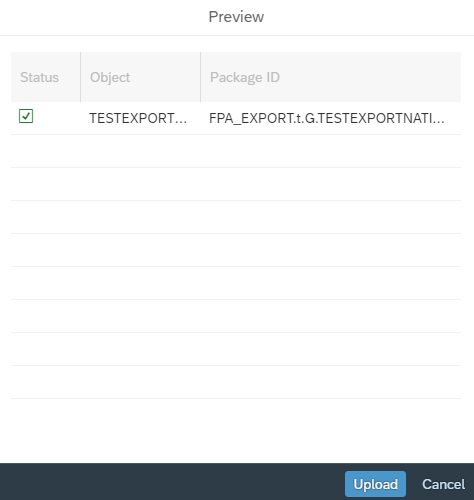
Afterwards a preview pop-up shows which Package is being imported. Click “Upload”
Click “Import”
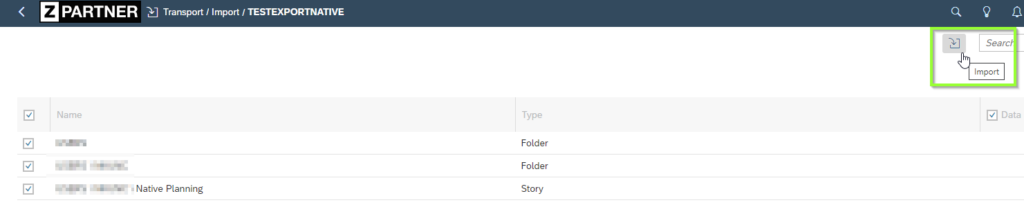
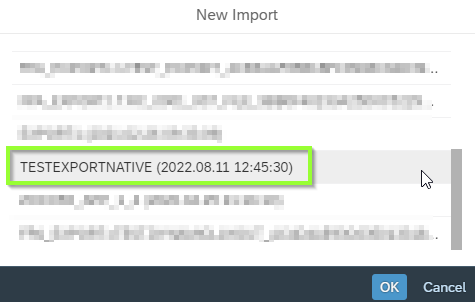
File is automatically selected within the “New Import” list – only click OK.
Then a pop-up shows the 3 options for the Upload: (you may leave non marked for example for a new story upload)
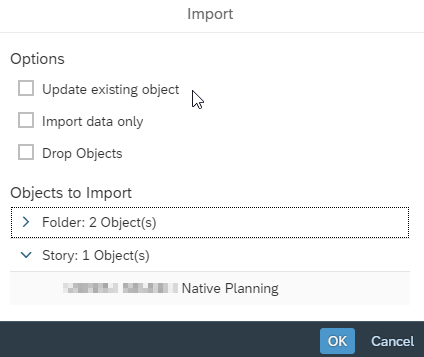
- Update existing object:
If an object selected for import already exists on your system, the object on your system is overwritten and its data is updated. The sharing settings will not be updated.
For models, however, the Model Data Privacy setting and the access permissions assigned to roles remain unchanged during the import.
- Import data only:
For objects that already exist in your system, data is imported into each object, but the objects themselves are not updated.
The Model Data Privacy and Data Access Control settings for models, as well as the permission settings for users and roles, remain unchanged.
- Drop Objects:
If an object selected for import already exists on your system, the object on your system is overwritten and its data is updated. The object’s sharing settings are inherited from the folder that you import it to. For imported models and dimensions, the Model Data Privacy settings and Data Access Control settings are updated by the imported content, and the corresponding permissions assigned to each role are reset. (*https://help.sap.com/docs/SAP_ANALYTICS_CLOUD/00f68c2e08b941f081002fd3691d86a7/14a4cca98d97445284cf085196c7173e.html?locale=en-US)
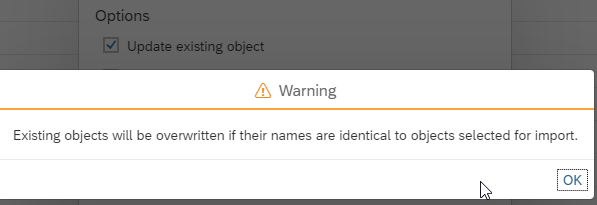
Warning for Update Existing Object:
Progress bar can be found on the top of the page

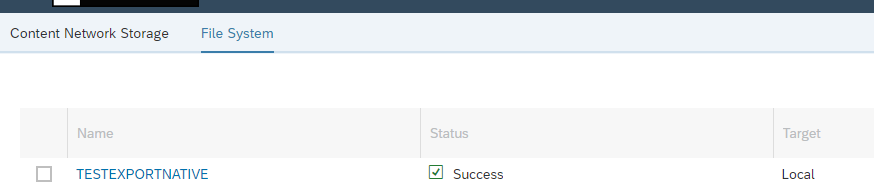
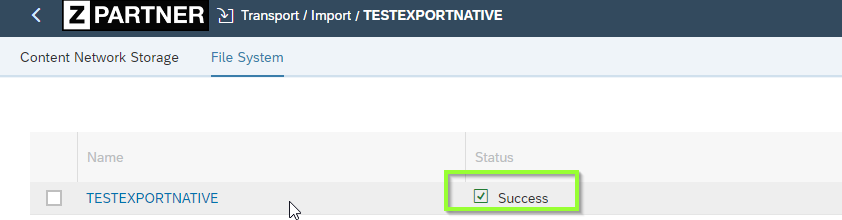
After import the Status of the import is shown in the list.
4 Final Thoughts
In case of transporting models, it is important to have the same name for the connection of the model, otherwise it will not work.
Do not transport connections! They should be created already.
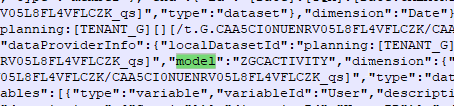
In some cases, you need to change the data source of a story for the target system. It is possible to change the model within the .tgz file. For this you have to open the tgz with a zip program and select the correct json file.

Afterwards it can be opened and looked through with search term “model” in order to find and exchange the model. But be aware this has to have the same Dimensions and Measures as the Model the Story is based on. Change and save within the .tgz and then import to target system.
But this should only be done by an expert.